
Tutorial: Check your Python Integration
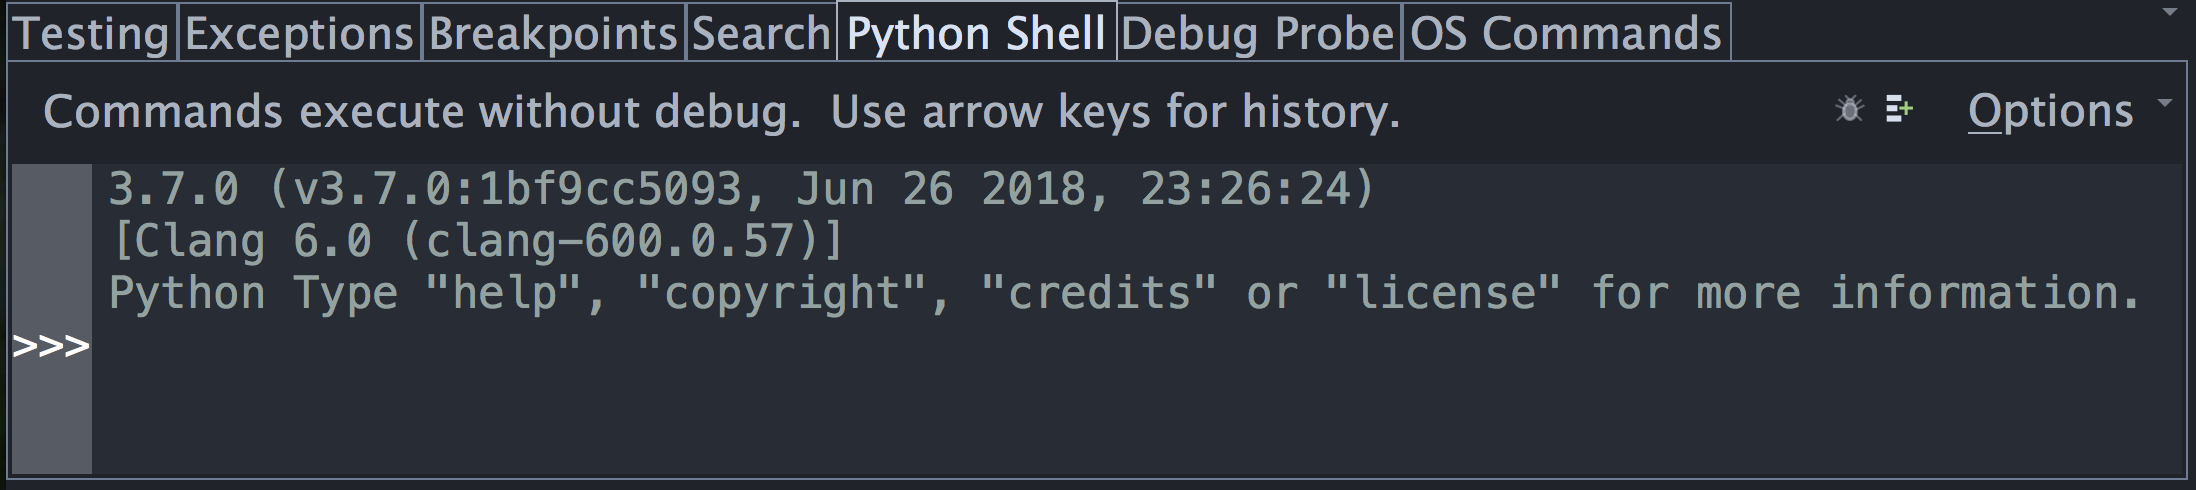
Before starting with some code, let's make sure that Wing has succeeded in finding your Python installation. Bring up the Python Shell tool now from the Tools menu. If all goes well, it should start up Python and show you the Python command prompt like this:
If this is not working, or the wrong version of Python is being used, you can point Wing in the right direction with Python Executable in Project Properties, accessed from the Project menu. Wing 101 does not have projects and Python environment is configured instead with Configure Python in the Edit menu.
An easy way to determine the value to use for Python Executable is to start the Python you wish to use with Wing and type the following at Python's >>> prompt:
import sys
print(sys.executable)
You can also use a virtualenv or Anaconda environment by selecting the Activated Env option here, but for now let's just use the base Python installation.
You will need to Restart Shell from the Options menu in the Python Shell tool after altering Python Executable.
Once the shell works, copy/paste or drag and drop these lines of Python code into it:
for i in range(0, 10):
    print('*' * i)
This should print a triangle as follows:
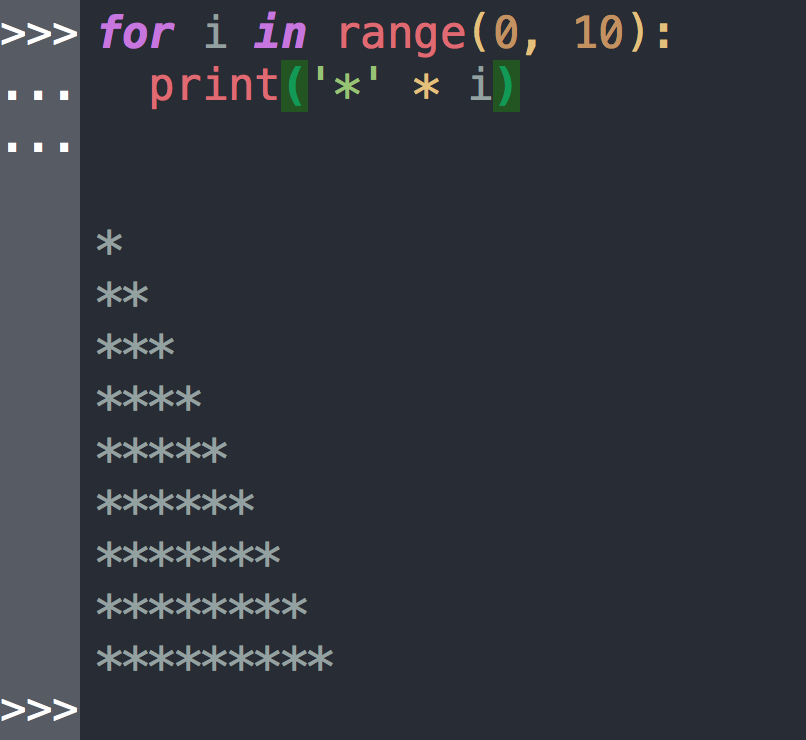
Notice that the shell removes common leading white space when blocks of code are copied into it. This is useful when trying out code from source files.
Now type something into the shell, such as:
import sys
sys.getrefcount(i)
Note that Wing offers auto-completion as you type and shows call signature and documentation in the Source Assistant tool. Use the Tab key to enter a selected completion. Other keys can be set up as completion keys with the Editor > Auto-completion > Completion Keys preference.
You can create as many instances of the Python Shell tool as you wish by right-clicking on a tool tab and selecting Insert Tool. Each one will run in its own process space.